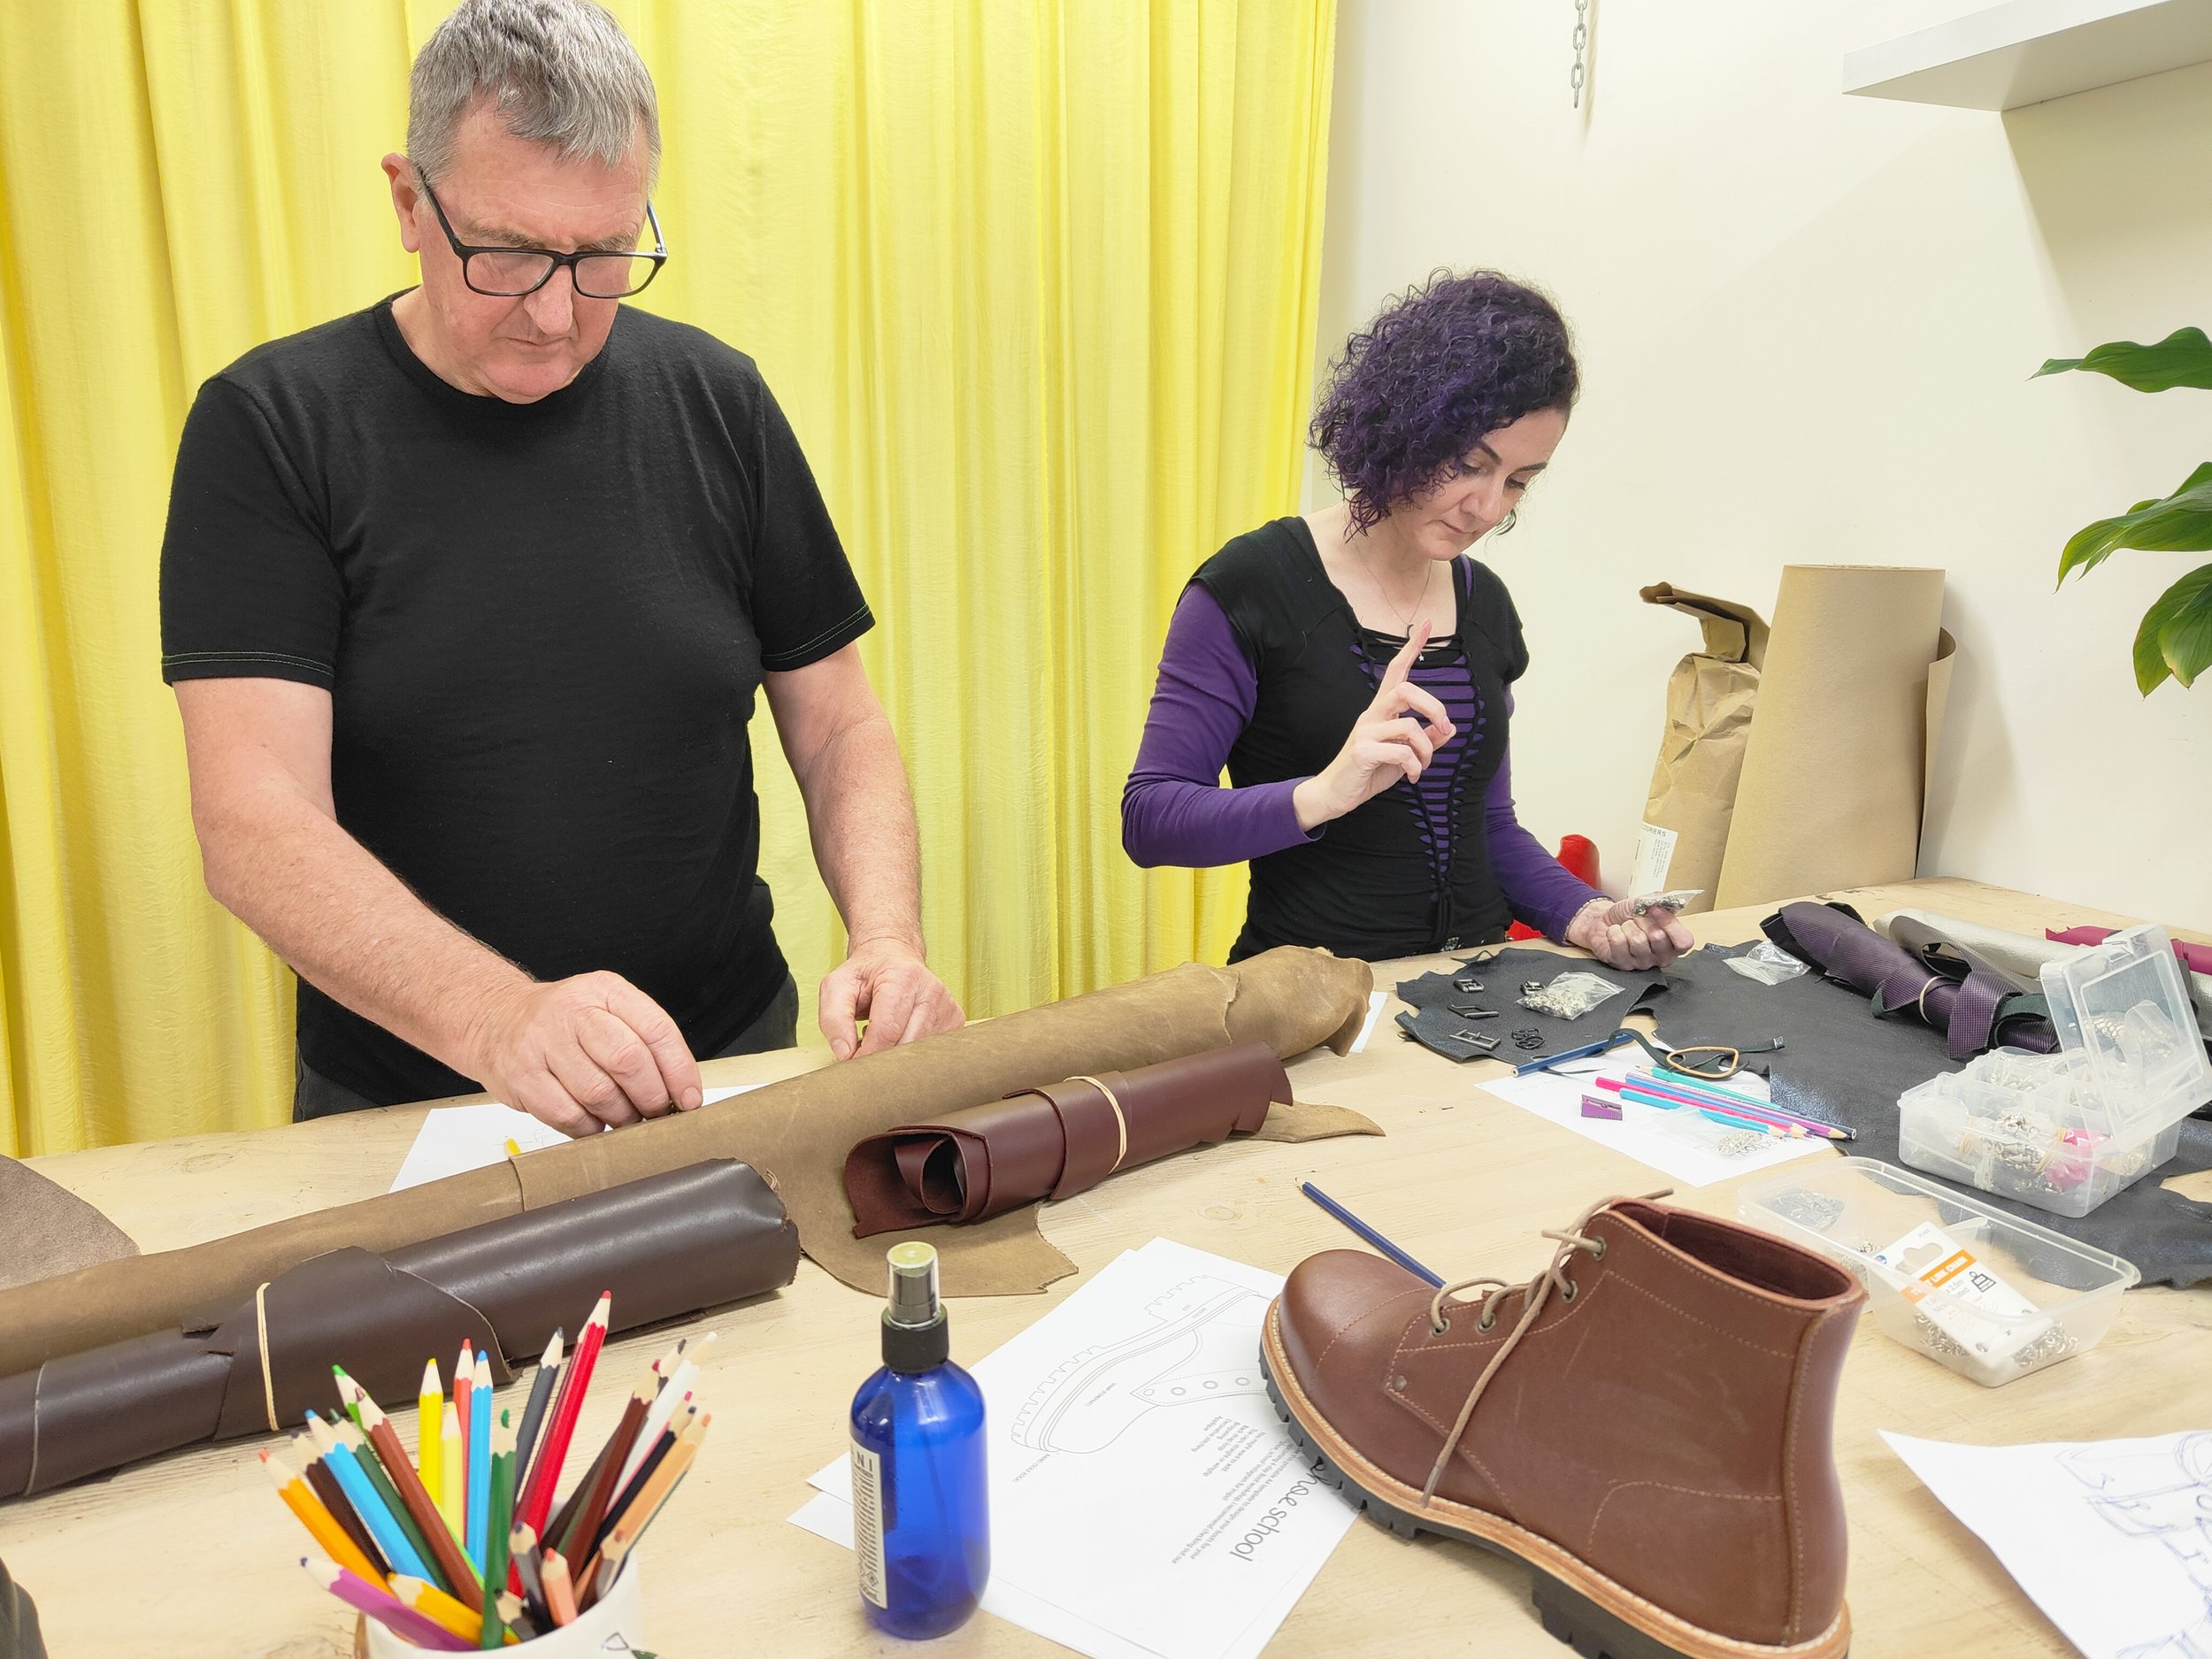
Don’t feel you need to come to class with a set idea of your boot style! Sometimes that best left to the prep session, where you can focus on your design - with my help.
When you arrive for your evening prep session you will receive a fabric mock up (pictured below) of your shoe. It will be classic derby lace-up boot style, no higher than 18cm, with a round toe and a heel of 2.5cm.

You’ll be trying on your mockup for fit, and you can also adjust the design lines. For example, perhaps you’d like to add or edit:
The toe cap. Straight or curved, such as a W shaped ‘wingtip’.
The quarters (the side panels). You can edit them to sit further forward, back or closer together, and you can change the shape so that they are more curved or angular.
The height of the boot. Now that you’ve tried the boot on, would you like to lower or raise the height?
The top of the boot. Most boots usually have a sloped topline, you can exaggerate this if you like.
The back strap. You can have a curved or straight back strap. You can also add a pull tab at the top.
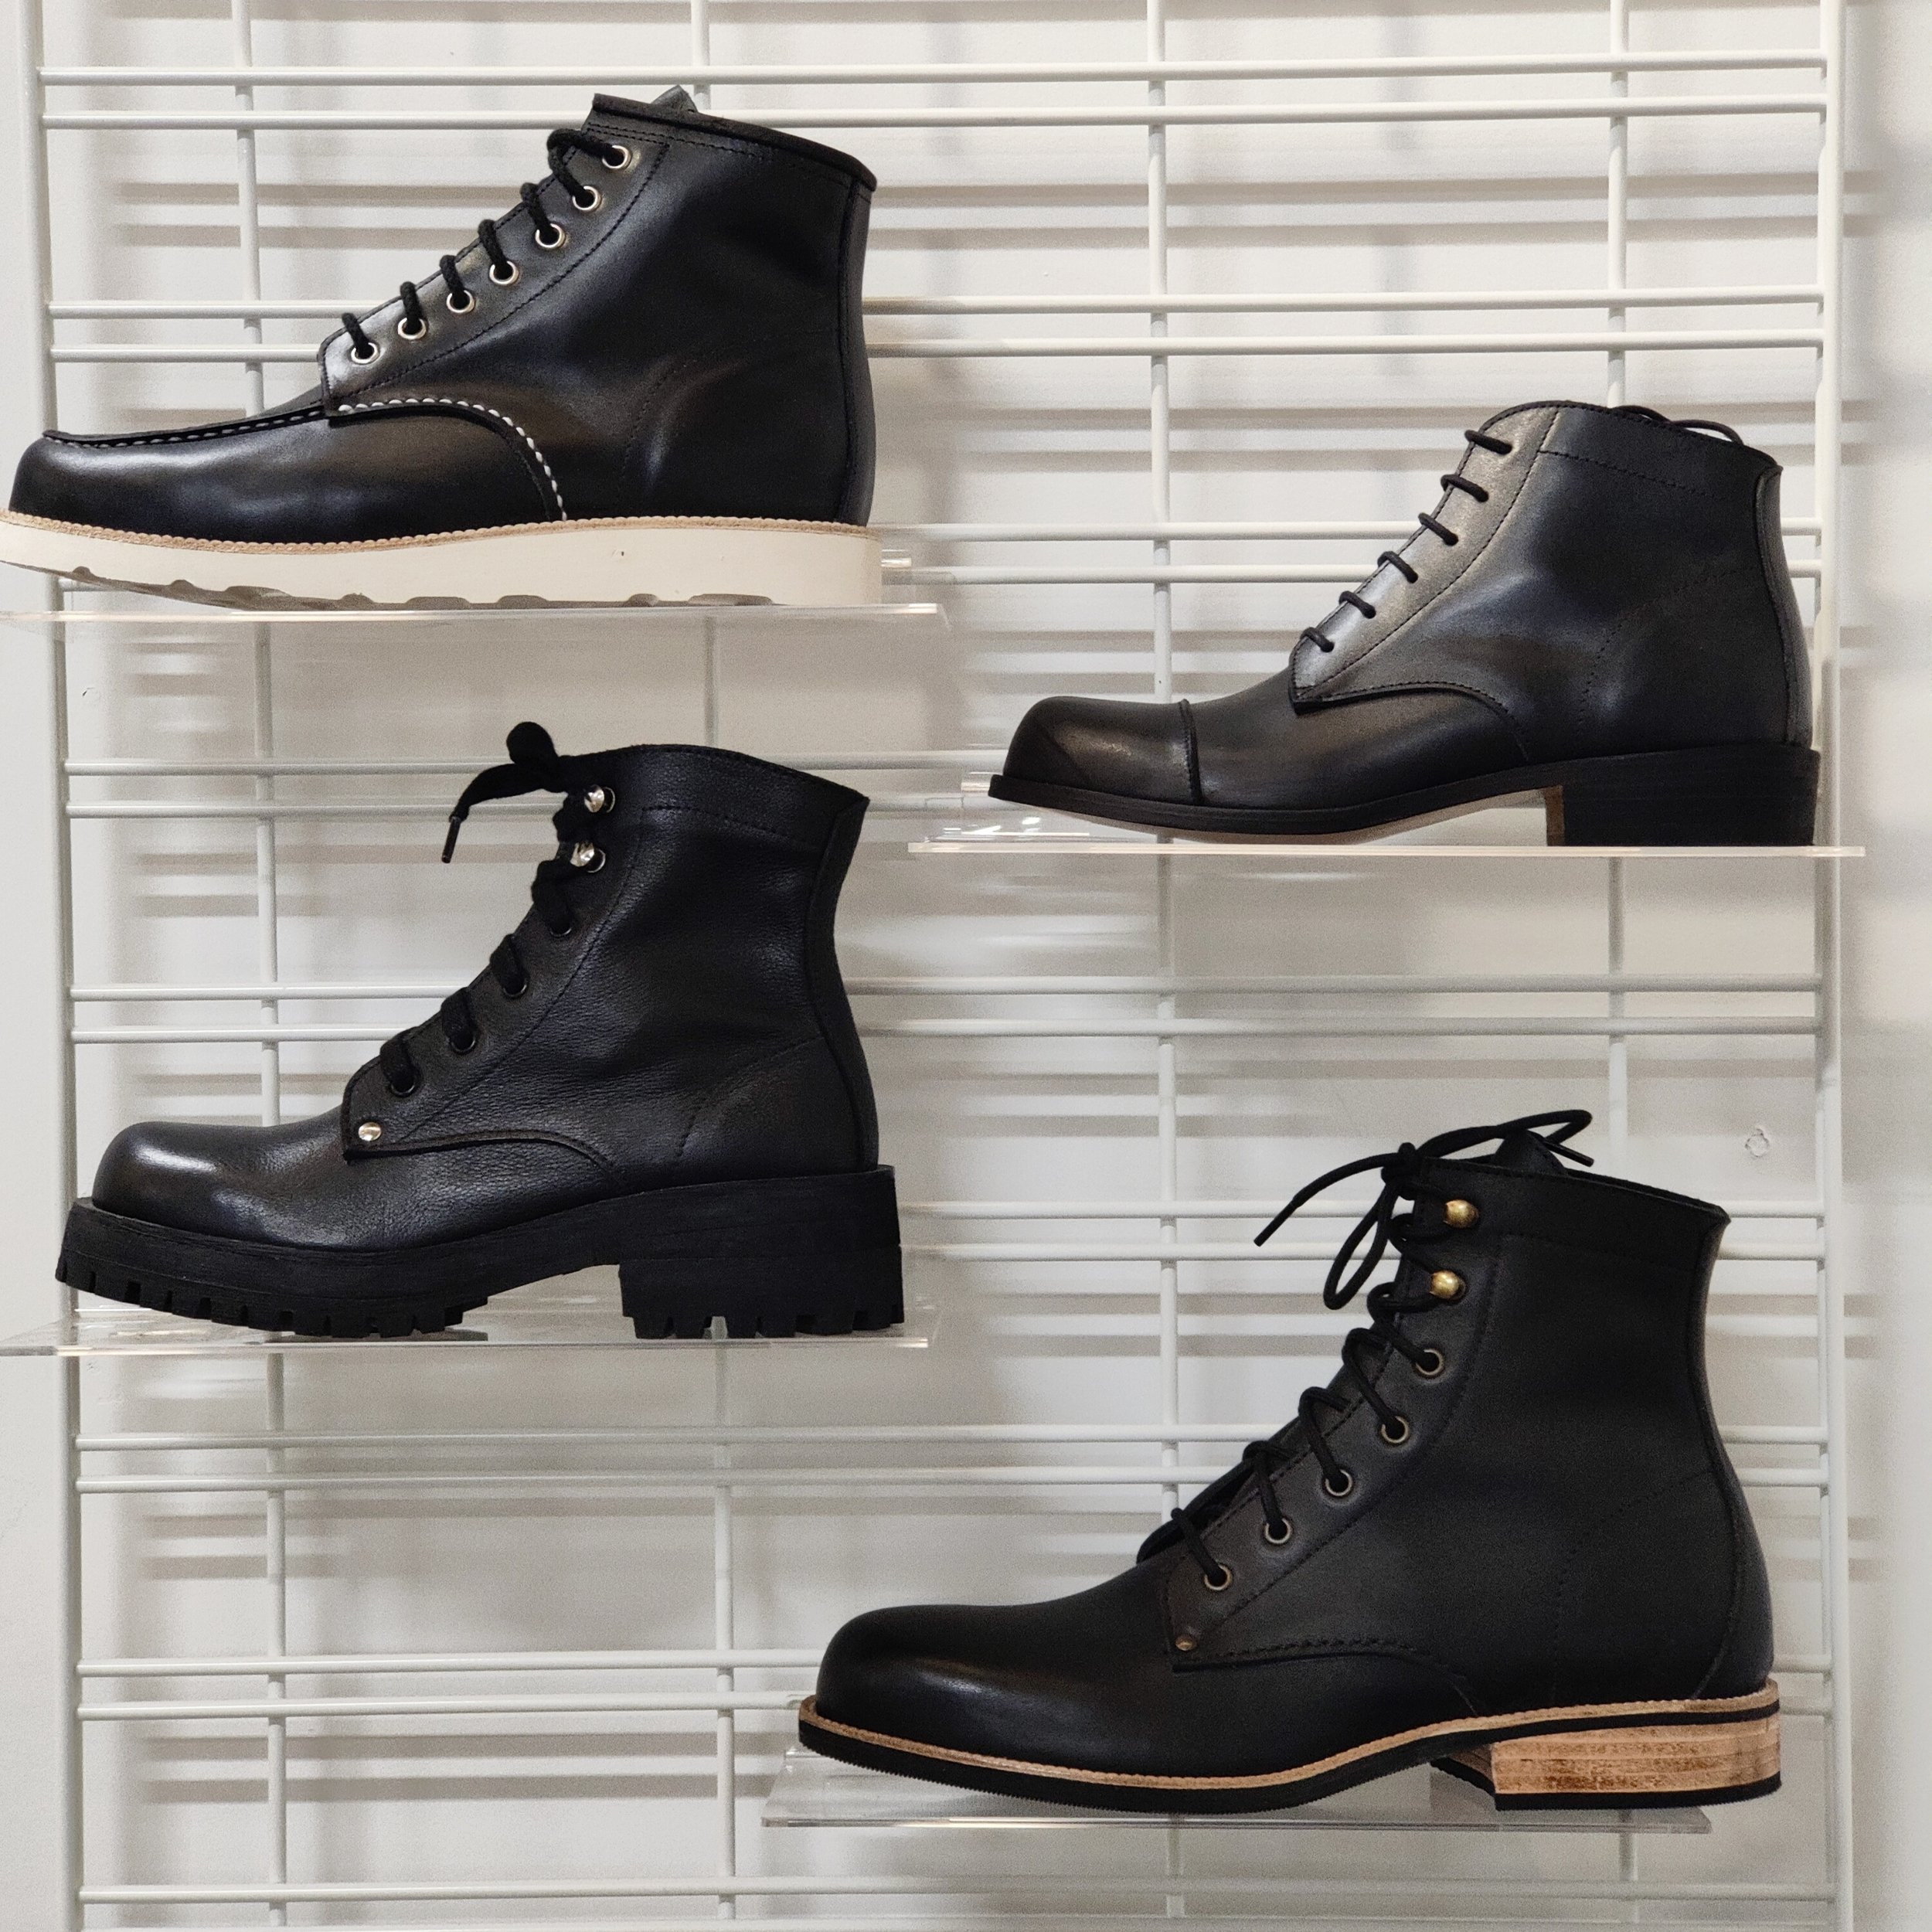
You can choose from a number of different soling options, as seen in the image above. You can mix and match these options, and you don’t have to decide on which soling you’d like til halfway through the workshop!
Vibram Christy soling, available in white or cream (top left)
Lugged rubber sole, with or without an EVA midsole for a platform effect (middle left).
Leather soling with a leather stacked heel, dyed or left natural brown (top right)
Rubber sole with a leather stacked heel (bottom right).

Consider adding these decorative elements. Just be aware that you have a limited amount of time during the workshop and you really don’t want to stress yourself out over something that should be enjoyable! I recommend limiting yourself (I know, it’s hard) to x2 decorative elements.
Adding straps and/or buckles. (These will not replace the laces).
Brogueing (decorative punchwork)
Applique
Decorative hardware, like spikes or rivets
Hand-stitching
Pinked or scalloped raw edges
You’ll be choosing:
Leather. You can choose one leather or a variety or leathers.
Metal eyelets (optional), 7mm or 9mm.
Other metal hardware such as boot hooks and rivets.
Leather rand. This is the edge that frames the boot and sits between the upper and midsole. It’s often confused for ‘welt’. We use a glued ‘rand’ which can be plain or have decorative stitch. The leather is a walnut brown colour, which can be dyed.
Midsole, leather or black EVA foam. You can leave the leather a natural walnut brown or dye it to match the rand and sole. You can stack the black EVA foam for a flatform effect.
Leather dress soling or a lugged sole. Half or full soles are available. If you have a leather dress sole you’ll have a rubber capped leather stacked heel, and we can add a thin layer of rubber to protect front of the sole.
Feel free to email me images of the kind of boot you might like to make. And if you would like to make a boot with a toe shape that isn’t rounded, email me images of boots with toe shapes you like, and I’ll check which lasts I have in stock in your size that may suit. shoeschoolau@gmail.com